This post contains affiliate links. I may earn a small commission if you purchase through my links, at no extra cost to you.
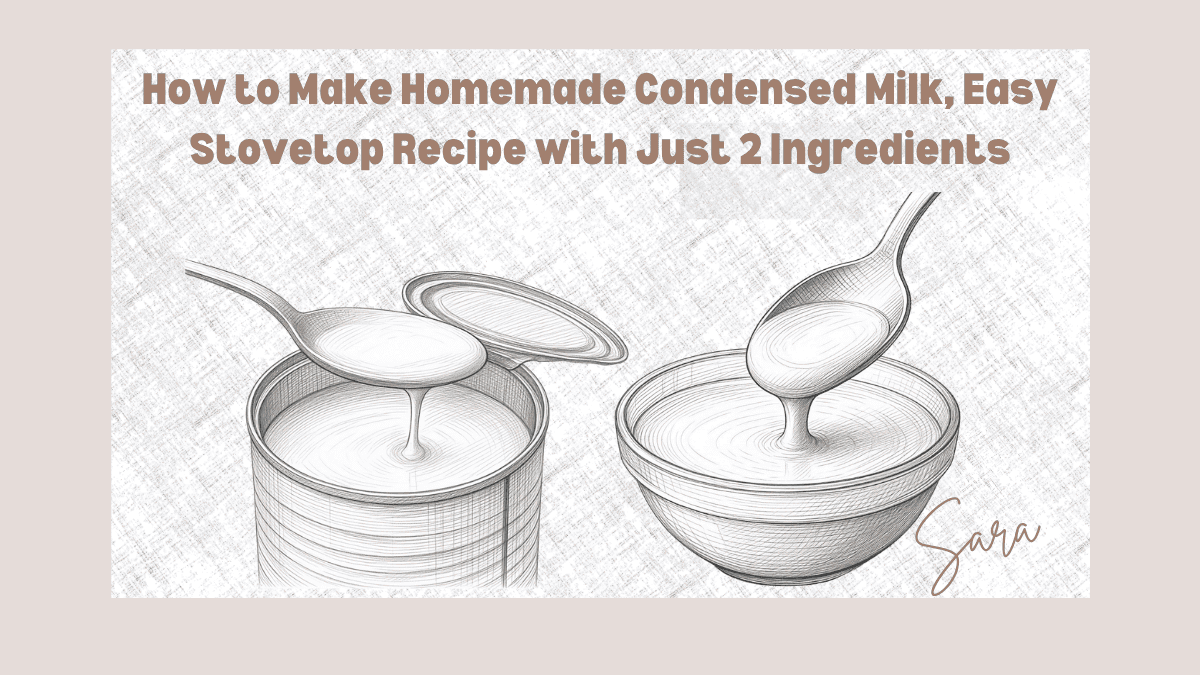
If you have ever been halfway through a recipe that calls for condensed milk only to realize you do not have any in the pantry, this post is for you. Homemade condensed milk is one of those kitchen staples that sounds complicated but is actually incredibly simple, just two ingredients, one pot, and a little patience on the stovetop.
Made with nothing but whole milk and sugar, this homemade version is rich, creamy, and deeply sweet,everything you want from condensed milk and nothing you do not. No preservatives, no additives, no mystery ingredients. Just pure, simple, homemade goodness that works beautifully in any recipe calling for store-bought condensed milk.
This recipe makes 2 cups of condensed milk and keeps well in the refrigerator for up to 2 weeks, so you can make a batch ahead and have it ready whenever you need it.
What Is Condensed Milk?
Condensed milk, also called sweetened condensed milk, is whole milk that has been slowly cooked down to remove the majority of its water content, with sugar added to sweeten and preserve it. The result is a thick, golden, intensely sweet syrup that is used in everything from Indian sweets like barfi and gulab jamun to fudge, frostings, caramel sauces, pies, and ice creams.
The stovetop method used in this recipe mimics exactly what happens in the commercial process, gentle, sustained heat that slowly reduces the milk and dissolves the sugar into a thick, pourable, glossy concentrate.
Why Make Condensed Milk at Home?
Fresher flavor: homemade condensed milk has a cleaner, more natural milky sweetness than the canned version. You control the ingredients, no additives, no preservatives, nothing artificial. More affordable, whole milk and sugar cost a fraction of a can of store-bought condensed milk. Always available: if you have milk and sugar in your kitchen, you can make it anytime. Customizable: adjust the sweetness to suit your recipe and your taste.
Prep Time
10 mins
Cook Time
45 mins
CoolingTime
20 mins
Total Time
1 hour 15 minutes

Ingredients
–

Equipment
–

Method
–

Notes
–
Method


Tips for Perfect Homemade Condensed Milk
Use whole, full-fat milk. The fat content in whole milk is essential for the rich, creamy texture of condensed milk. Low-fat or skimmed milk will produce a thinner, less flavorful result.
Use a wide, heavy bottomed pan. A wider pan gives more surface area for evaporation, which speeds up the reduction process. A heavy bottom prevents hot spots that can scorch the milk.
Stir regularly but not constantly. You do not need to stand over the pot stirring the entire time, but check and stir every 3–4 minutes, making sure to scrape the bottom and sides of the pan where the milk can catch.
Watch the color. As the milk reduces, it will gradually shift from white to warm ivory to golden cream. This color change is your best visual indicator of progress.
It thickens as it cools. Do not worry if the consistency looks slightly thinner than store-bought condensed milk when it comes off the heat; it will thicken significantly as it cools. If you cook it until it is as thick as the canned version while it is still hot, it will be too thick once cooled.
Frequently Asked Questions
Can I use low fat milk instead of whole milk?
Whole milk is strongly recommended for the best result. The fat content is what gives homemade condensed milk its rich, creamy texture. Low fat milk will produce a thinner, less flavorful condensed milk that may not set properly in recipes.
Can I use a sugar substitute instead of white sugar?
You can experiment with coconut sugar for a deeper, more caramel-like flavor, though the color will be significantly darker than traditional condensed milk. Artificial sweeteners are not recommended as they behave very differently under heat and will not produce the same thick, syrupy result.
Why did my condensed milk turn grainy?
Grainy condensed milk is usually caused by the sugar recrystallizing, which happens when the heat is too high or the mixture is stirred too vigorously during the reduction stage. Keep the heat low and stir gently. Adding a small squeeze of lemon juice at the start can help prevent crystallization.
My condensed milk is too thin, what went wrong?
It likely needs more time on the stove. Return it to the pan over low heat and continue reducing, stirring regularly, until it reaches the right consistency. Remember it will also thicken further as it cools.
My condensed milk is too thick , can I fix it?
Yes. Stir in a small splash of warm whole milk, a teaspoon at a time, until you reach the desired consistency.
Can I make this dairy-free?
Yes. Full fat coconut milk works well as a dairy-free substitute and produces a rich, slightly coconut-flavored condensed milk that is delicious in many recipes. Use the same ratio, 4 cups of coconut milk to 1 cup of sugar.
How do I know when the condensed milk is done without a thermometer?
The spoon test is your best guide. Dip a clean spoon into the mixture and hold it horizontally; the condensed milk should coat the back of the spoon thickly and not drip off immediately. Draw a line through the coating with your finger ,if the line holds cleanly without the milk running back together, it is ready.